
AD Guest Post
Paint by numbers sounds simple enough. Buy a kit, follow the numbered sections, and end up with something worth framing. But detailed projects are a different matter – they demand patience, preparation, and a basic understanding of how paint behaves on canvas before you ever put brush to surface.
If you’ve abandoned a half-finished canvas out of frustration, the chances are that preparation was the problem. What to know before starting a detailed paint-by-numbers project is less about artistic talent and more about setting yourself up correctly from the beginning. Here are seven things worth getting right.
Table of Contents
ToggleCanvas Size Affects Difficulty More Than You’d Expect
The first decision most people overlook is canvas size. Detailed paint by numbers sets for beginners tend to come in a range of dimensions, and the size you choose directly shapes how much precision the project demands from you. A 40 x 50 cm canvas with a complex design gives each numbered section a reasonable amount of room. That same design printed on a 20 x 30 cm canvas means tiny sections, fine lines, and a much higher chance of painting over a boundary you didn’t intend to cross. If you’re working with limited table space or prefer a quicker completion time, detailed paint by numbers sets for beginners offer smaller formats that maintain manageable section sizes without sacrificing the intricacy of the design.
So if you’re new to detailed kits, don’t let a beautiful image talk you into a format that’s too small. More space means more forgiveness. You don’t need to be an experienced painter to produce great results – you just need a canvas where the sections are large enough to work comfortably.
Read the Whole Kit Before You Start
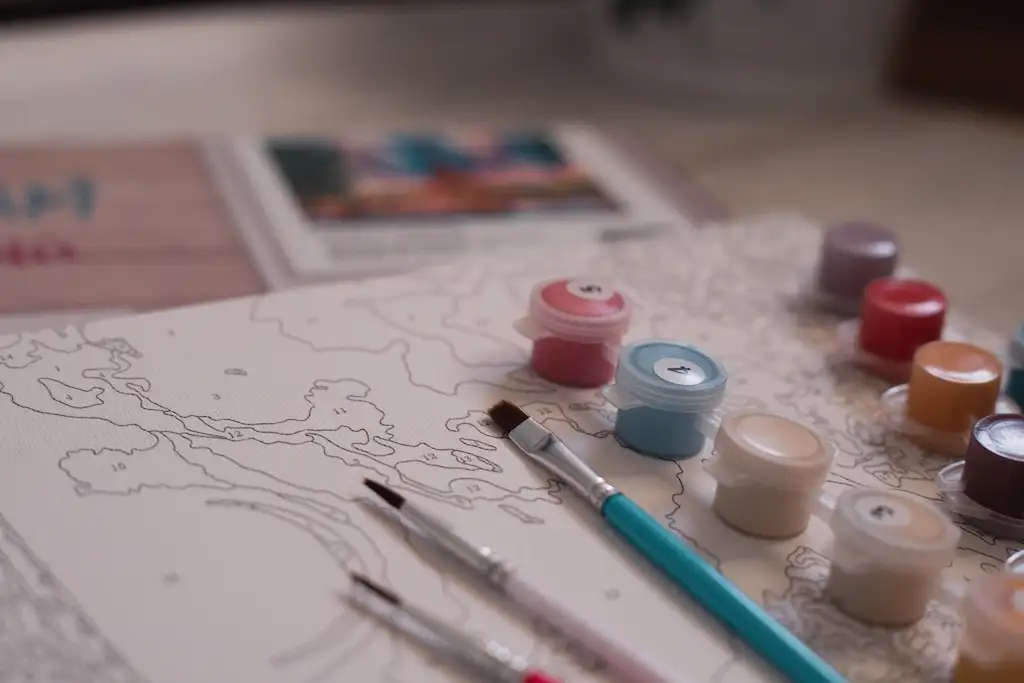
Opening a paint-by-numbers kit for the first time is genuinely exciting, but diving straight for the brushes is a mistake. Give the materials ten minutes of your attention first. Lay every paint pot out and confirm each one matches a number printed on the canvas. Some kits include a reference image or printed guide, don’t ignore it.
Check the brushes too. Most kits include at least two or three sizes, and knowing which one handles fine detail versus flat colour areas will save you a lot of rework. It’s also worth identifying which sections on the canvas are the smallest, because those are where you’ll need the most control. A brief audit before you start paints a clearer picture – quite literally – of what the project involves.
And don’t assume every paint pot is full or the right consistency straight out of the box. Open a few and check. If any paint looks dried out or separated, you’ll want to know before you’re mid-session.
Good Lighting Isn’t Optional
This one gets ignored constantly. Numbers printed on canvas are small, and in poor light they become almost invisible once you’ve painted over the surrounding sections. A dim room that feels perfectly comfortable for reading or watching television is often completely inadequate for detailed paint-by-numbers work.
Natural daylight is ideal. Set up near a window if you can, particularly in the morning when the light is consistent and doesn’t cast strong shadows. If you work in the evenings, invest in a proper daylight bulb or a craft lamp – the kind that mimics natural daylight spectrum. Painting under a warm yellow bulb distorts how colours appear on the canvas, which means what looks correct under artificial light can look slightly off in full daylight.
Good lighting also reduces eye strain significantly. A long session squinting at tiny numbered sections is a quick path to giving up. Make it easy on yourself.
Start from the Top Left and Work Across
Experienced painters follow a specific working order, and it’s got nothing to do with how the finished piece looks. Start in the wrong corner and your hand will drag across sections you’ve already finished as you move around the canvas, smudging wet or even slightly tacky paint. Work from the top down, left to right if you’re right-handed, right to left if you’re left-handed.
Beyond smudging, working in order also helps you avoid accidentally painting a section the wrong colour because the surrounding numbers are still visible. Once large areas fill in with paint, it becomes harder to read the adjacent numbers, and mistakes become more likely.
Some painters finish every section of one colour before picking up another pot. It works well for large, flat areas, but in passages where colours interlock tightly it can get confusing fast. Try both methods on a smaller project first and see which one fits how you naturally work.
Thin Coats Beat Thick Ones Every Time
Most paint-by-numbers kits use acrylic paint, which dries quickly and shrinks a little as it does. A thick, heavy application looks rich when it’s wet but often dries patchy and can peel away from a section’s edges. A thinner, even coat dries flat and smooth, and it’ll take a second coat cleanly without distorting the lines beneath.
Load the brush lightly and keep your strokes steady and controlled within each numbered section. If coverage looks thin after one coat, let it dry fully – ten to fifteen minutes is usually enough for acrylics – then go back over it. Two thin coats will always look better than one heavy one.
Keep a small cup of water nearby to thin the paint slightly if it feels stiff or starts to dry on the brush. Don’t over-water it; you want a smooth consistency, not a wash.
Take Breaks and Come Back with Fresh Eyes
Detailed paint-by-numbers projects can stretch across several sessions, and that’s completely normal. In fact, it’s better that way. Fatigue shows up in your brushwork long before you notice it consciously – lines get wobblier, you start rushing small sections, and mistakes go uncorrected because you stop seeing them.
Set a time limit for each sitting. An hour to ninety minutes is a reasonable stretch for detailed work; beyond that, concentration slips. Step away, let the paint dry, and come back fresh. You’ll catch errors you completely missed mid-session and fix them before they’re permanent.
Store your paints properly between sessions. Press each lid down tightly and keep the pots out of direct sunlight or heat. Acrylic paint sets irreversibly once it dries, so a pot left open is just a colour you’ve lost.
Seal the Finished Canvas to Protect Your Work
A finished canvas deserves proper protection, particularly if you’re planning to frame and hang it. Bare acrylic paint picks up dust, reacts to moisture, and fades under prolonged light exposure. A coat of fixative or varnish locks the colours in place and gives the surface a clean, finished quality.
Choose between matte or gloss depending on the look you’re after. Gloss makes colours appear more vivid and punchy; matte gives a softer feel closer to traditional painting. Apply the varnish with a wide, clean brush in long, even strokes, but only once the canvas is completely dry, which typically means waiting 24 hours after the final layer of paint.
Don’t rush this step. Varnishing over paint that’s still slightly tacky traps moisture and can cause cloudiness across the surface. Give the canvas a full day before you seal it, and the result will last considerably longer.
Conclusion
What you need to know before starting a detailed paint-by-numbers project really comes down to a few practical calls made before the first brushstroke. Get the canvas size right, work in good light, follow a logical order, keep your paint thin, and seal the surface when you’re done, and you’ll get from a numbered outline to a finished piece you’re genuinely proud of. The preparation matters just as much as the painting itself.